[UPDATED FOR WORDPRESS 6.1.1]
When it comes to contact forms, I admit to having struggled to create a proper, responsive two columns contact form – different themes and plugins always make this a challenge with WordPress.
Nonetheless, if you follow my advice and opt for as simple and as a lightweight theme as possible, you may find that it is actually not as difficult as one can imagine. The new WordPress blocks make this task relatively easy.
My website uses:
- Twenty Twenty WordPress theme (I find it simple, elegant, and easy to work with);
- Twentig – the plugin which provides me with more, easy to create options for elements.
Working with the above two, I was able to create a contact form without adding any additional CSS to the website. The code below works like a charm, utilising the existing responsiveness of the wp-block-columns class from WordPress’s core.
<div class="wp-block-columns" style="gap: 5px; margin-bottom: 0!important;">
<div class="wp-block-column" style="margin-top: 0; margin-bottom: 0px;">
[text* first-name placeholder "First Name"] [text* last-name placeholder "Last Name (required)"]
</div>
<div class="wp-block-column" style="margin-top: 0; margin-bottom: 0px;">
[email* your-email placeholder "Email (required)"] [tel* your-mobile placeholder "Phone (required)"]
</div>
</div>
<div class="wp-block-columns" style="gap: 5px; margin-top: -30px;">
<div class="wp-block-column" style="margin-top: 0; margin-bottom: 0px;">
[textarea message placeholder "Your message"]
</div>
</div>
<div style="margin-top: -20px;">
[submit "Send"]
</div>
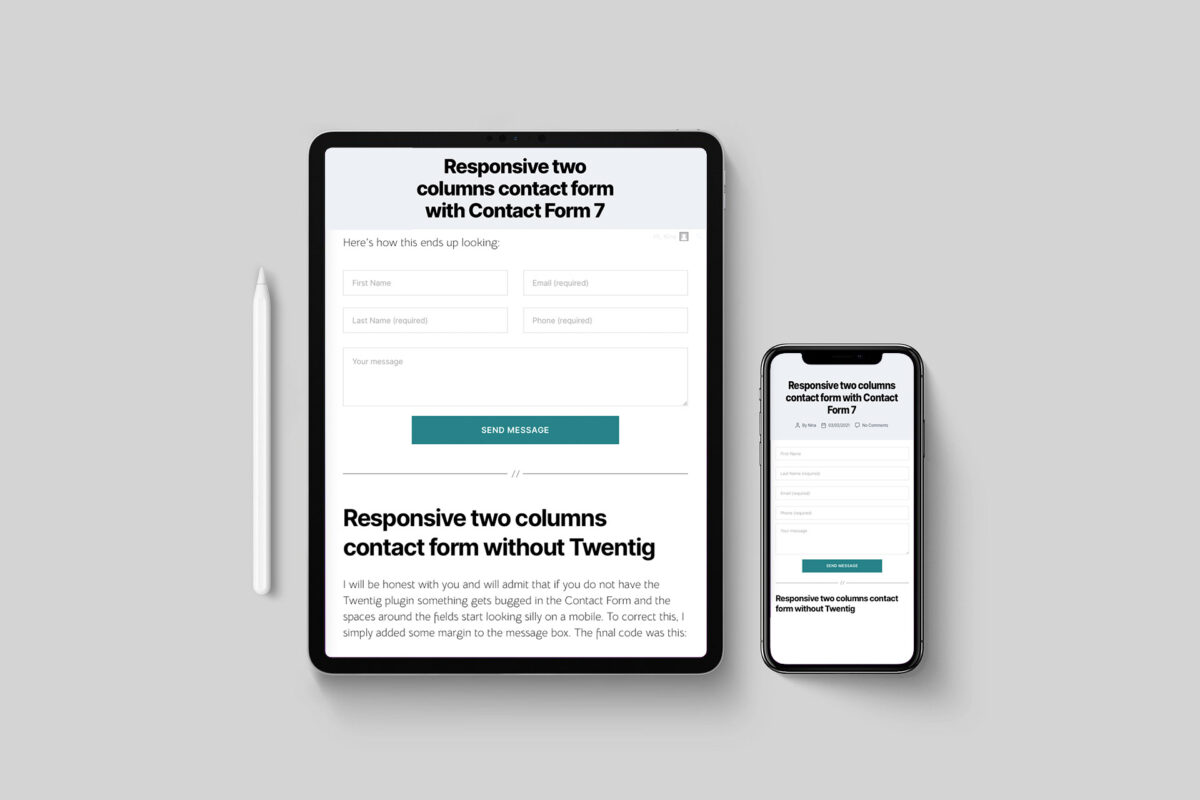
Here’s how this ends up looking: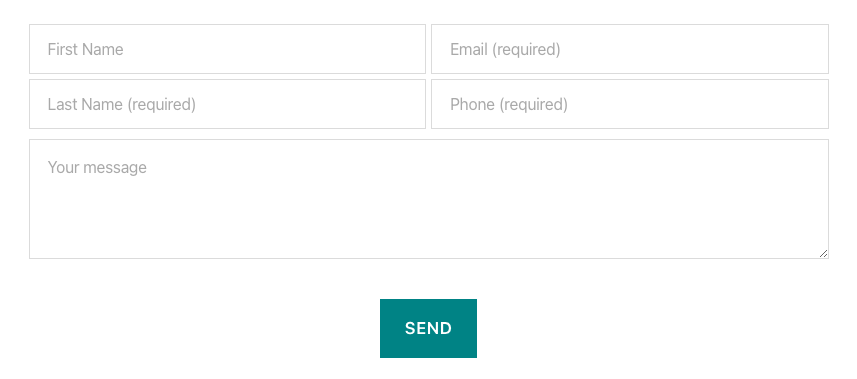
Please note, that to make it look like this, you also have to add some custom CSS, to prevent Contact form 7 from adding massive paragraphs everywhere. To do this, go to your Appearance Menu and click on Customise. In the “Additional CSS” section on the left hand side, drop this code and save it:
.wpcf7 p{
  padding: 0;
	margin-top: -5px;
	line-height: 5px;
}
Responsive two columns contact form without Twentig
I will be honest with you and will admit that if you do not have the Twentig plugin something gets bugged in the Contact Form and the spaces around the fields start looking silly on a mobile. To correct this, I simply added some margin to the message box. The final code was this:
<div class="wp-block-columns" style="margin-bottom: 0;">
<div class="wp-block-column" style="margin-top: 0; margin-bottom: 15px;">
  [text* first-name placeholder "First Name"]

  [text* last-name placeholder "Last Name (required)"]
  </div>

<div class="wp-block-column" style="margin-top: 0; ">
  [email* your-email placeholder "Email (required)"]

  [tel* your-mobile placeholder "Phone (required)"]
</div>

</div>
<div style="margin-top: 10px;">
[textarea message placeholder "Your message"]
</div>
<div style="margin-top: 20px;">
[submit "Send"]
</div>
Responsive contact form with centred button
To centre the button on your responsive two columns contact form, add this code to your WordPress customiser:
input.wpcf7-form-control.wpcf7-submit {
display: block;
margin: 0 auto;
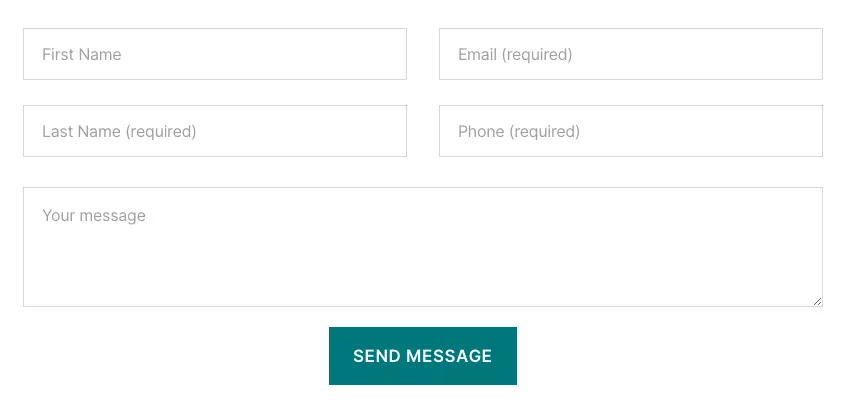
}You’ll get this result:
Responsive contact form with large button
If you’d like to have your Contact Form 7 button in full width, use this code:
input.wpcf7-form-control.wpcf7-submit {
width: 100%;
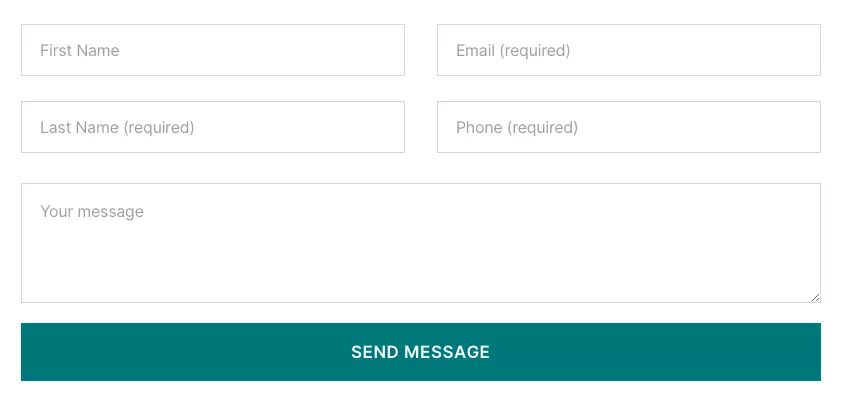
}This is the result:
And if you simply want to have it somewhat larger but still not huge, you can opt for this:
input.wpcf7-form-control.wpcf7-submit {
display: block;
margin: 0 auto;
width: 60%;
}
This is how it looks:

Centering the Send button of a specific contact form only
If you’re looking for a way to centre the button of one specific contact form only, things become just a little tricky. You first need to create the form, add it to a page and go to a preview mode. Once you do this, you’ll be able to see the ID of this specific form.
In Google Chrome, this is done simply by placing your mouse cursor somewhere on the form and clicking Inspect. You then need to select the code of the entire form and you’ll be able to see the ID. It should look something like this:
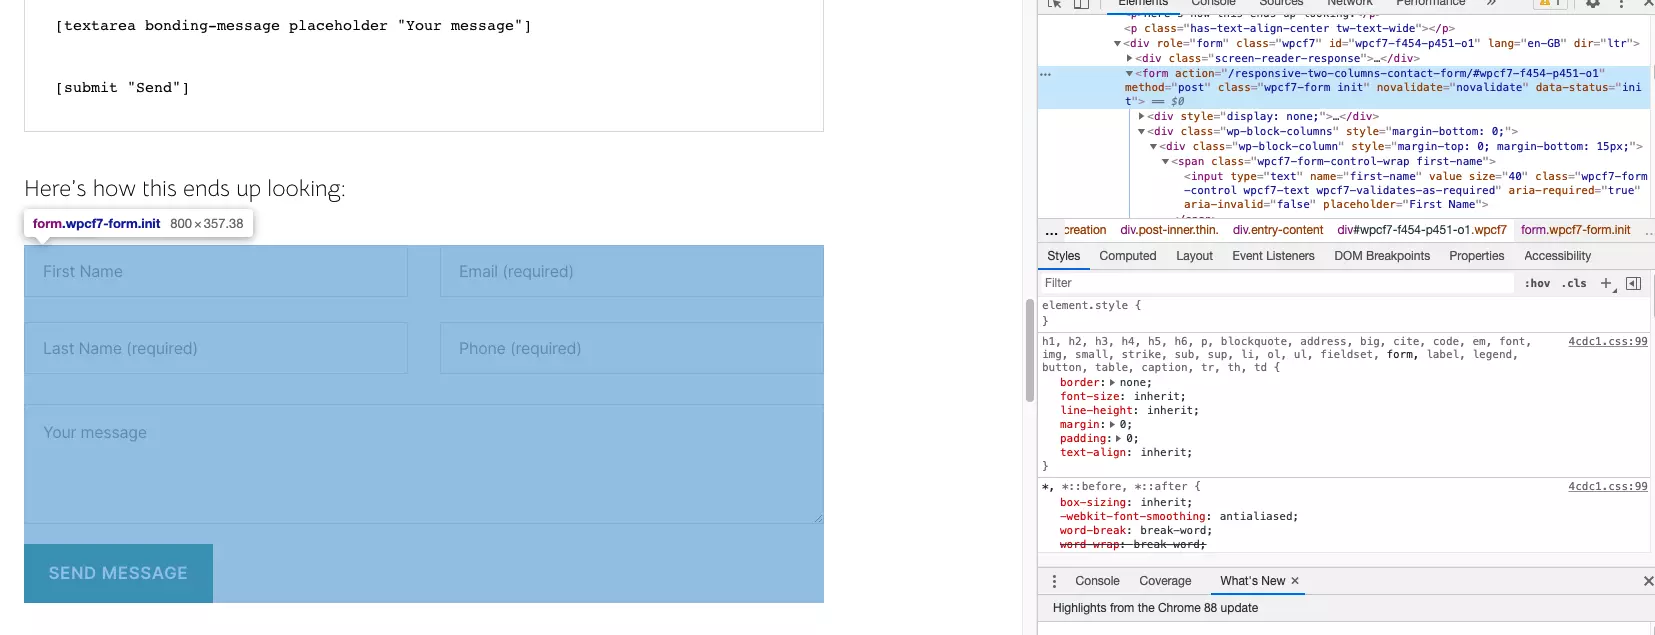
In Safari, you will first need to enable the Develop menu before you can do this. To enable it, you need to go to Safari’s Properties => Advanced => Select the “Show Develop menu in menu bar”. Once done, you can go to your form, right-click over it and select “Inspect Element”. You’re looking for this:
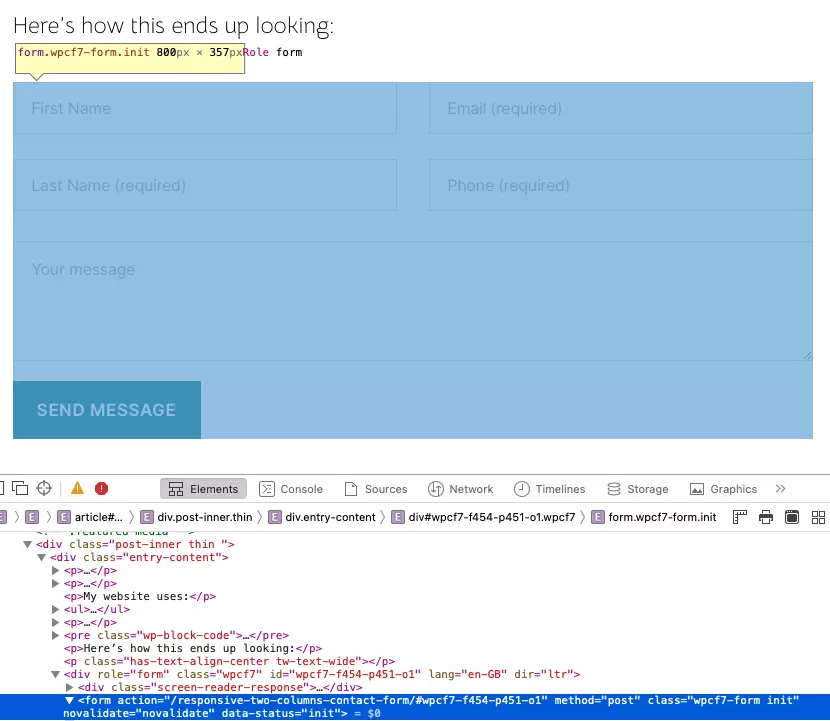
The ID is the little snippet starting with #wpcf7 and followed by letters and numbers. In the case of the contact form you see here, this is #wpcf7-f454-p451-01. When you get this code, you should go to your WordPress Customiser, and add the following code (replacing the ID with the one of your form):
#wpcf7-f6-p2-o1 .wpcf7-form-control.wpcf7-submit {
display: block;
margin: 0 auto;
}
This will affect only the button on this one contact form, without affecting the other ones.
Good luck!
